
How to Clean Your Makeup Brushes: Hello friends! Welcome back to my beauty blog. In today’s post, I’ll be sharing everything you need to know about how to properly clean your makeup brushes. From the products and techniques to use, to when and how often you should be cleaning them, we’ve got you covered.
Proper brush care is so important for achieving flawless makeup application and avoiding breakouts. So grab your dirty brushes and let’s get cleaning!
- 1 Why Cleaning Your Makeup Brushes Matters
- 2 How Often Should You Clean Your Makeup Brushes?
- 3 How to Clean Makeup Brushes: Supplies Needed
- 4 Step-By-Step Guide on How to Clean Your Makeup Brushes
- 5 Tips for Drying Makeup Brushes
- 6 Can You Use Baby Shampoo to Clean Makeup Brushes?
- 7 DIY Homemade Makeup Brush Cleaner Recipes
- 8 Tips for Extending Time Between Cleanings
- 9 Signs It’s Time To Replace Your Makeup Brushes
- 10 Caring for Different Makeup Brush Materials
- 11 Storing Your Brushes
- 12 Frequently Asked Question
Why Cleaning Your Makeup Brushes Matters

Before we dive into the how-to, let’s first discuss why it’s crucial to regularly clean your makeup brushes. Here are some of the top reasons:
1. Prevent Buildup and Bacteria
Over time, makeup, oil, dead skin cells, and bacteria can build up in your bristles. Not cleaning them allows this icky buildup to transfer back onto your face each time you use the brushes.
2. Avoid Breakouts
The bacteria that builds up can lead to breakouts and skin irritation if you’re constantly reapplying it.
3. Improve Application
Product residue and stiff bristles make it harder to achieve a smooth, flawless makeup application. Clean brushes glide onto the skin seamlessly.
4. Make Your Makeup Last
When brushes are coated in old makeup and oils, it causes your new makeup to not go on as evenly or last as long throughout the day.
5. Make Your Brushes Last Longer
The accumulated buildup can also make bristles deteriorate more quickly over time. Proper cleaning preserves the integrity of the brushes.
6. Eliminate Colors Mixing Together
For brushes used with powders, pigments can transfer from one to the other if not cleaned regularly. This avoids muddy, unintended colors.
How Often Should You Clean Your Makeup Brushes?
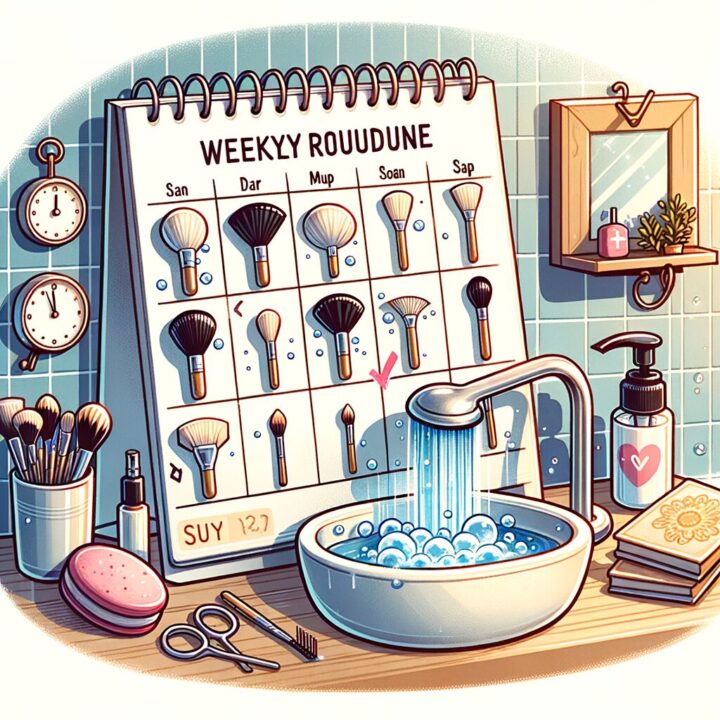
So when exactly should you be cleaning your tools? Here are some general timelines to follow:
- Foundation brushes – Every 1-2 weeks
- Powder/blush brushes – Every 2-4 weeks
- Eye makeup brushes – Every 2-4 weeks
- Beauty blenders/sponges – After every use
Brushes that you use more often with liquid and cream products tend to require more frequent cleaning.
Some signs it’s definitely time for a wash are:
- Visible makeup, dirt, oil, or stain buildup
- Bristles feeling stiff
- An odor
- Makeup not blending properly
Get into a routine based on your personal use to keep brushes in top shape!
How to Clean Makeup Brushes: Supplies Needed
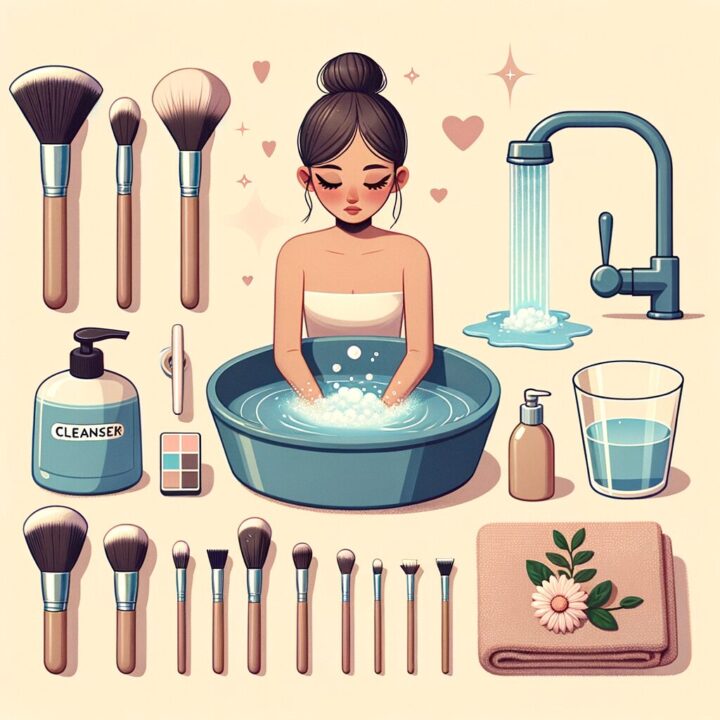
Now let’s get into the nitty gritty of how to get your brushes squeaky clean. There are a few different methods and tools you’ll need.
Here is a list of cleaning supplies you’ll want to have on hand:
- Brush cleanser – Look for ones specifically formulated for cosmetic brushes. Baby shampoo or gentle hand soap can work in a pinch.
- Water
- Brush mat or paper towels
- Drying rack or stand – A towel can work too.
- Gloves – Optional, but helps keep hands clean!
Optional extras:
- Olive, coconut or jojoba oil – To condition bristles
- Lint roller – To remove excess lint and fuzzies
- Brush guard – To reshape bristles
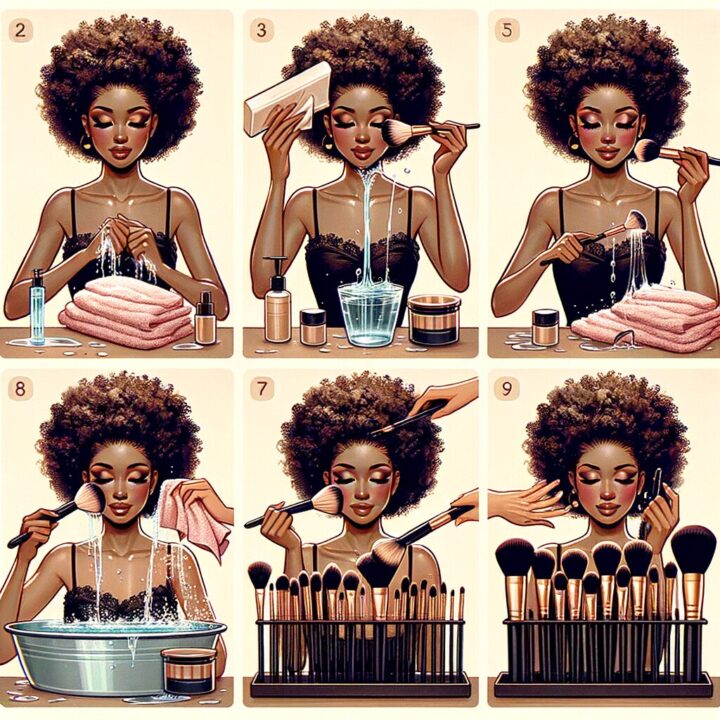
Step-By-Step Guide on How to Clean Your Makeup Brushes

There are a few techniques you can use to get brushes fresh and clean. Here is a step-by-step guide to each method:
1. The Simple Rinse
This quick rinse removes surface level residue and works well for lightly used brushes.
What You’ll Need:
- Brush cleanser
- Water
- Towel
Steps:
- Dampen bristles with water and pour a small amount of brush cleaner into your palm.
- Swirl brush around in your palm, massaging cleanser into bristles for 30 seconds up to a minute.
- Rinse under running water until water runs clear.
- Gently press bristles into a towel to remove excess moisture.
- Lay flat or stand up to air dry.
2. The Deep Cleaning
This is ideal for a more thorough clean of brushes with heavier buildup.
What You’ll Need:
- Bowl or sink filled with warm water
- Brush cleanser
- Brush mat, paper towels or drying rack
Steps:
- Fill bowl or sink with warm water and add a small amount of cleanser.
- Dip the bristles into the water and lather the cleanser through the brush for 30 seconds up to 2 minutes if there is heavy buildup.
- Rinse under running water.
- Gently press bristles into a towel.
- Reshape and lay brushes on their side on a paper towel or mat to air dry.
3. The Oil Cleanse Method
Using oil helps condition bristles and further break down makeup residue.
What You’ll Need:
- Oil (olive, coconut or jojoba work well)
- Bowl of warm water
- Clean towel
- Baby shampoo or brush cleanser
Steps:
- Pour a quarter size amount of oil in your palm. Dip brush into the oil and massage through bristles.
- After the oil has dissolved some of the makeup, run bristles under warm water and work a small amount of baby shampoo or cleanser through.
- Rinse until water runs clear.
- Dry brushes on a clean towel, reshaping bristles.
- Let air dry.
No matter which method you use, be sure not to submerge the entire head of the brush underwater or leave them damp for too long to avoid loosening the glue.
Focus cleaning efforts on the bristles, avoiding getting water on the handle or ferrule.
Tips for Drying Makeup Brushes
- Lay brushes flat on their side on top of a clean towel or drying rack. This prevents water from seeping into the ferrule.
- Don’t store away brushes until they are fully dry. Wet bristles are a breeding ground for mold and bacteria.
- Avoid extreme heat from hairdryers or direct sunlight. This can damage the bristles.
- For a faster drying time, point the handle down and bristles up. This allows air circulation through the bristles.
- Use a brush guard or shape bristles after cleaning. This retains the brush’s shape as it dries.
- Check that water isn’t trapped near the base. Gently squeeze bristles in a towel to absorption excess moisture.
- Give extra time for thick, dense brush bristles to completely dry.
Can You Use Baby Shampoo to Clean Makeup Brushes?
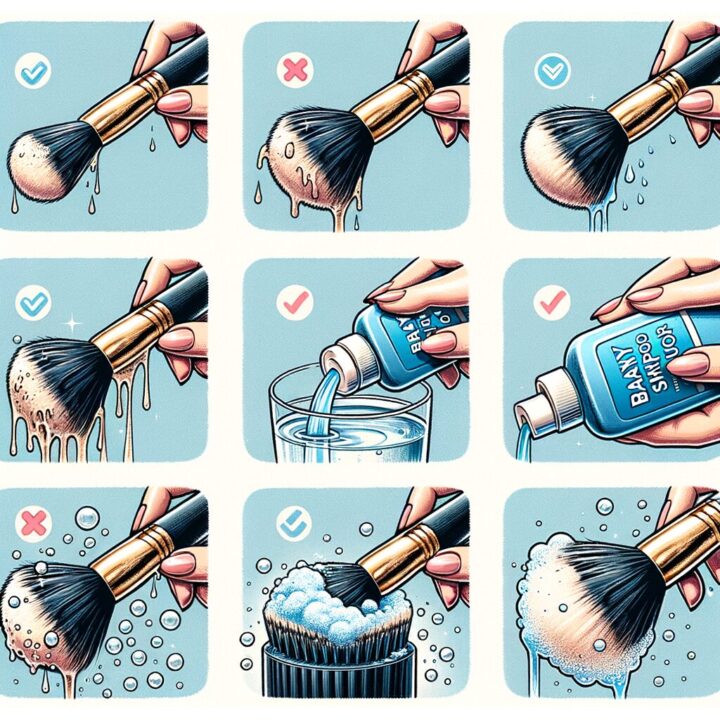
Baby shampoo is commonly used as a safe, effective brush cleaner. It contains gentle cleansers that break down makeup residue without stripping essential oils from natural brush hairs.
Make sure to use a fragrance-free, tear-free formula to avoid irritation. Johnson’s is a popular brand many makeup artists use.
Dilute with water and use just a small amount. Rinse thoroughly after cleaning.
For tough buildup, a brush-specific cleanser is best. But in a pinch, baby shampoo works well for lightly cleaning brushes!
DIY Homemade Makeup Brush Cleaner Recipes
Looking to save money on cleansers? Here are some easy DIY cleaner recipes you can whip up with ingredients from home:
Simple DIY Brush Cleaner
- 1 tsp baby shampoo
- 1 cup warm water
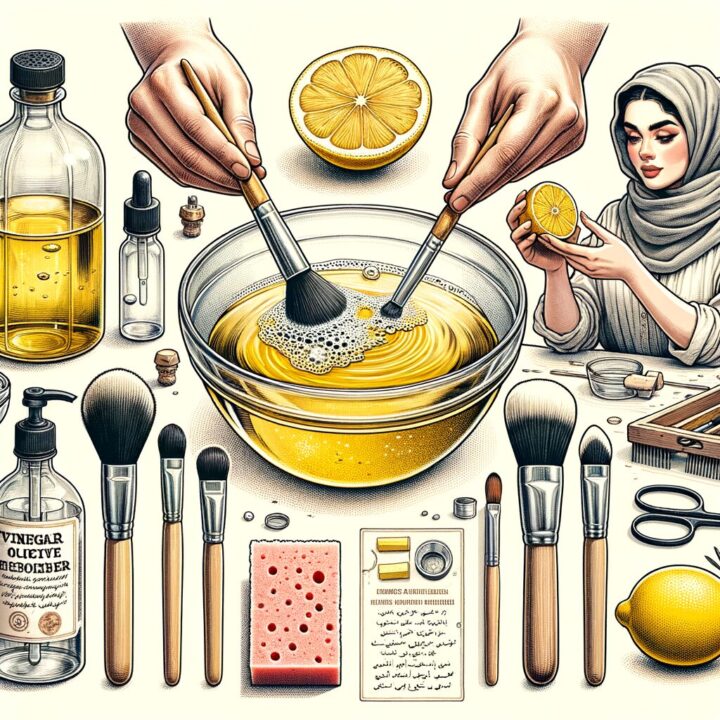
Moisturizing Olive Oil Cleaner
- 1/2 cup olive oil
- 1/2 cup dish soap
- 1 tsp lemon juice
Deep Cleansing Dish Soap
- 2 tsp dish soap
- 1 cup warm water
- 1 tsp coconut oil
Clarifying Handsoap Cleaner
- 1 tsp handsoap
- 1 cup warm water
- 1 tsp apple cider vinegar
Mix up your chosen ingredients until combined. Use as you would any liquid brush cleanser.
Be sure to patch test formulas before applying them to all your makeup brushes.
Tips for Extending Time Between Cleanings
To avoid having to deep clean brushes too often, here are some handy tips:
- Use brush guards when storing brushes to protect bristles
- Don’t let brushes sit in a closed container while still damp
- Wash hands before use to prevent oil and dirt transfer
- Don’t pump liquid foundation directly onto the brush. Use the back of your hand instead.
- Avoid touching the bristles directly to your face.
- Use disposable applicators when possible for creams and liquids.
- Regularly wipe down brushes using a lint roller or towel to remove surface residue.
- Have separate brushes for liquids/creams and powders.
- Work with powder products before liquids to avoid premature buildup.
- Keep your face clean when applying makeup!
Signs It’s Time To Replace Your Makeup Brushes
Over time with repeated cleanings, brushes do wear down. Here are some signs it may be time to retire your old brush:
- Bristles are falling out, shedding excessively
- Ferrule is coming loose
- Shape is no longer symmetrical, bristles are bent
- Bristles feel scratchy and rough on skin
- Unable to be fully cleaned due to heavy staining
To extend your quality brushes’ lifespan, avoid soaking bristles for long periods and subjecting them to harsh cleansers or temperatures.
But some wear and tear does naturally occur. When brushes start showing excess signs of deterioration, it’s best to replace them.
Caring for Different Makeup Brush Materials
Makeup brushes come in a variety of materials like natural hair, synthetic fibers, and wood handles. Each requires a bit of special care.
Natural Hair: Avoid harsh soaps which can strip away natural oils. Use conditioner or olive oil to nourish bristles.
Synthetic: Re-shape after washing. Lay flat or hang to dry thoroughly. Avoid high heat.
Wood Handles: Keep away from water. Gently wipe down with brush cleaner.
Porcelain Handles: Use caution when cleaning to avoid chips or cracks. Don’t soak.
Metal Ferrules: Rinse well after cleaning. Avoid corrosion by drying fully.
Storing Your Brushes
To keep brushes in great condition between uses, proper storage is key. Here are smart storage tips:
- Stand brushes up in cups, jars, brush holders. Don’t let bristles touch surfaces.
- If laying flat, position on the side without prolonged pressure on bristles.
- Store in a clean, dry location away from direct light or heat.
- Use brush guards or cases to protect the shape of the bristles
- Don’t store wet brushes – ensure they are 100% dry first.
- For natural hairs, storing bristles facing down can maintain the shape better long term.
- Avoid cramming brushes too tightly together, allow space for air circulation.
- Don’t store brushes in enclosed compartments, bags or cases until fully dry.
- Hang brushes by the handle instead of bristles to retain shape.
Treat your brushes with care and they’ll deliver flawless results for years to come! Proper makeup brush cleaning and storage is so worthwhile for staying germ-free and protecting your investment.
I hope you found these tips helpful! Let me know in the comments if you have any other favorite brush cleaning methods or tricks. I’m always looking to learn new ways to care for my brushes.
Thanks for reading and until next time, stay stylish!
Frequently Asked Question
How do you clean makeup brushes without brush cleaner?
You can clean makeup brushes without specialized brush cleaner by using a gentle shampoo or soap. Baby shampoo works well since it’s designed to be gentle for babies’ sensitive skin. Dilute a small amount of baby shampoo with water, massage into bristles, and rinse thoroughly until water runs clear.
Can you use rubbing alcohol to clean makeup brushes?
Yes, you can use rubbing alcohol to sanitize and disinfect makeup brushes. After washing brushes with soap and water, pour some rubbing alcohol onto a paper towel and wipe the brush bristles on it. This will help kill any remaining germs and bacteria. Allow brushes to air dry completely afterward.
How do you clean colored makeup brushes?
To clean makeup brushes used with colorful powders or pigments, add a bit of oil to help break down the concentrated pigment. Olive, coconut, or jojoba oil work well. Massage the oil into the bristles first before washing with soap and water. The oil will help lift stubborn makeup stains.
Can you use laundry detergent to clean makeup brushes?
Laundry detergent is not recommended for cleaning makeup brushes. The formulas are too harsh and can damage or dry out natural brush bristles. A gentle soap like baby shampoo or specialized brush cleanser is best to avoid stripping brushes.
What ruins makeup brushes?
Excessive exposure to oils, creams, and liquids can ruin makeup brushes. Always blot off excess makeup before applying to your brush. Letting brushes sit dirty for too long can also damage them by solidifying buildup in the bristles. Avoid harsh soaps, high heat, and rubbing alcohol long-term.